


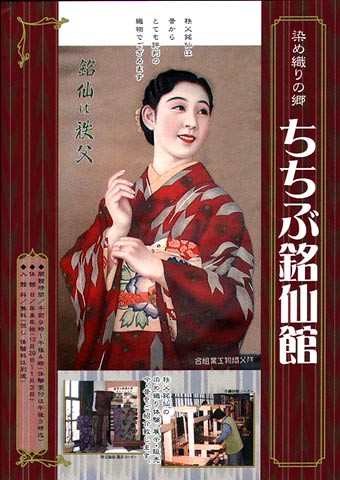
Chichibu Meisen Museum & Nassen dyeing
Last month I already had my 5 year wedding anniversary!
My husband does not wear kimono, but he is kind enough to hear me babbling about kimono all day every day for some time now.
For our anniversary we thought it would be kind of boring to just walk through the city and stuff ourselves in a fancy restaurant. So instead my better half was totally supporting my idea to finally visit the Meisen museum (銘仙館) in Chichibu, Saitama.
I also wanted to try the experiment of driving the car in kimono, so we ticked that one off my list too!
(A two hour drive btw.! If you open the bottom layers and tuck them up it is totally fine and was apart from sitting super straight quite comfortable. Also make sure to exchange you geta or zori sandals with proper footwear e.g. sneakers when driving.)
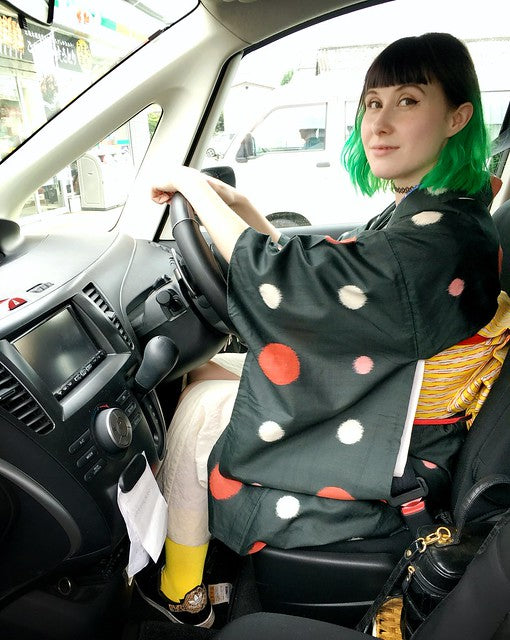
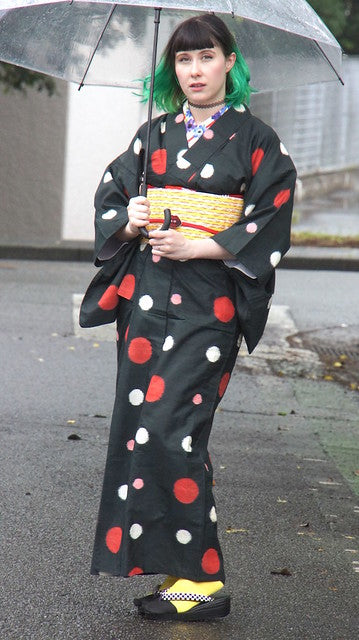
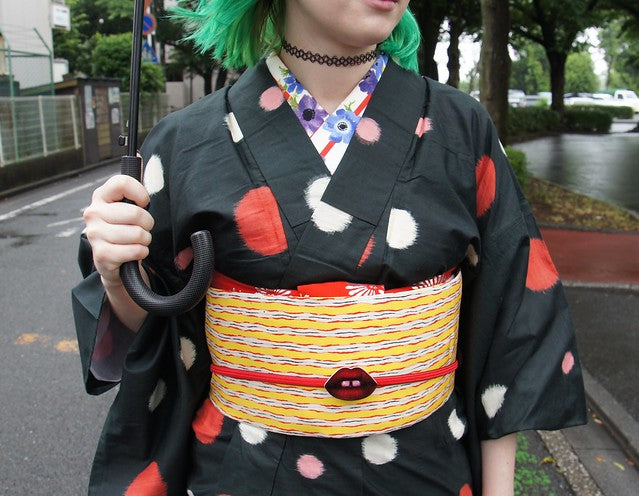
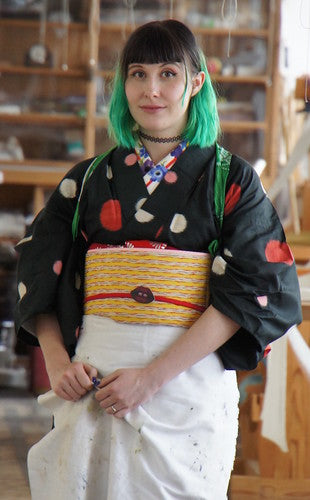
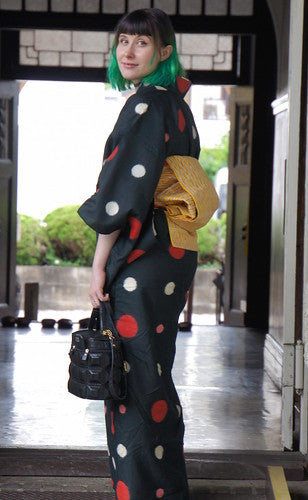
My outfit for the day was – of course – a meisen kimono in black with polka dots and a yellow Nagoya obi. It was raining in the morning and I was sleepy, hence the motivated face ahah.
The lip obidome is self-made.
Before we dive in, here are some key points worth to know:

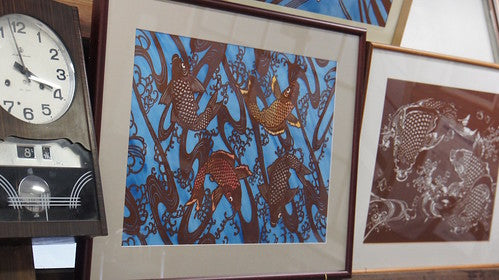
☆ Meisen (銘仙) is a distinct style of dyeing loosely shaped threads and weaving them afterwards.
This creates very interesting designs in contrast to e.g. hand painted Yuuzen (友禅) dyeing which looks very different and is painted onto finished fabric bolts.
☆ Soutarou Sakamoto (坂本宗太郎) invented and patented this technique in Chichibu in 1908 and it became very popular in the taisho era (1912-1926) until the 50s. Meisen was produced in Gunma prefecture and Tokyo’s Hachioji area, however Chichibu was the main location which covered about 80% of the Meisen production for whole Japan.
☆ The popularity of Meisen raised due to the fact that this way of an early age “mass-production” made the garments way more affordable and the kimono featured some modern pop designs and colours. Also Meisen has the same design inside and out (vs. hand painted kimono only having the design on one side) so they were very durable in a way that you could simply loosen all the threads and re-sew the kimono inside out if it happened to get dirty beyond the point washing would help.
☆ However in the 50s when more and more Western influences modernised the country, the trend changed and Western clothing took over the trend and kimono, altogether with Meisen started to slowly vanish from the landscape.

・・・・・・・・
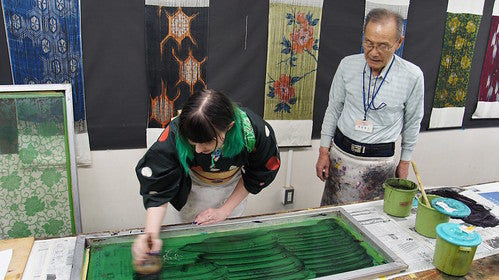
As a special treat for our anniversary my husband was so sweet to sponsor me a “some taiken” (染め体験) aka. a “dyeing experience” where I am taught by an old artisan how to dye kimono.
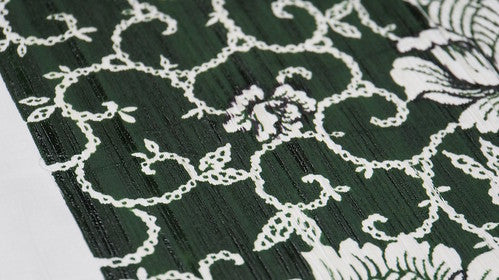
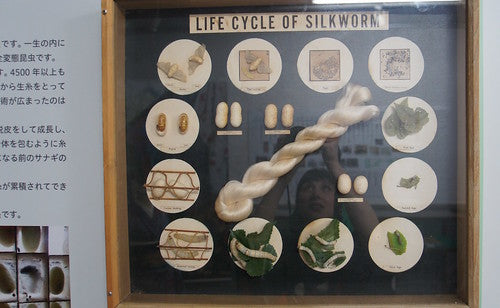
In this case we did the “hogushi nassen” (ほぐし捺染) way of dyeing loosely shaped silk threads which will be woven after dyeing. This way is the core of Meisen kimono, as the weave after dyeing gives the fabric the distinct “blurry” look Meisen kimono have.
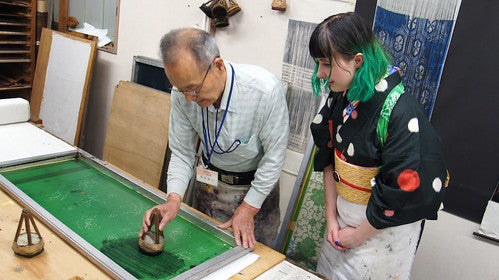
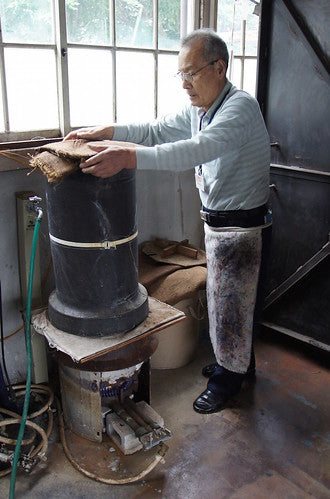
The master who taught me is Yasuo Kikuchi (菊池康夫) with 60 years of experience. He retired a while ago but still comes out to teach nassen dyeing at the Meisen Museum.
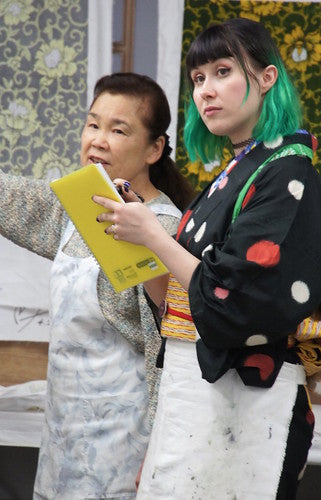
After a rather quick chat, Kikuchi sensei didn’t waste much time and got to the point immediately.
“Which design do you want to dye? And please select the colours too!”
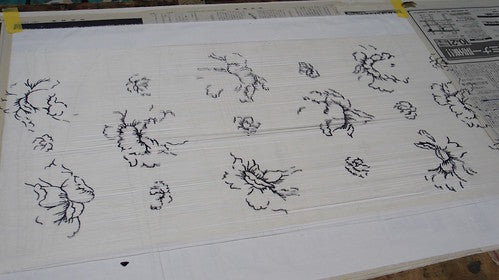
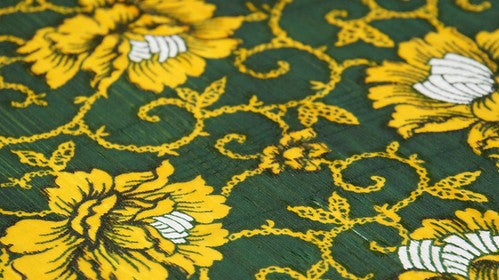
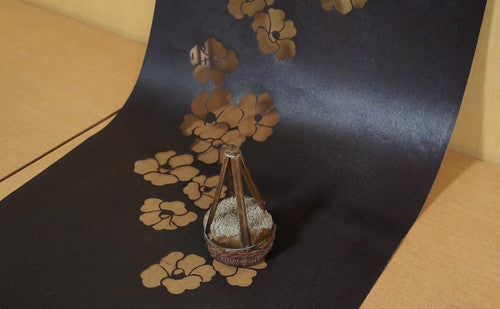
After reviewing the options I decided on “Karakusa botan” (唐草牡丹) a design of a peony flower with some leaves in the colour of dark green and a pop yellow.

“Very well.” the sensei said and prepared everything for my new project by selecting the right silk screens, colours and tools.
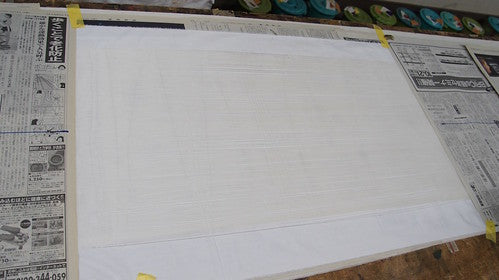
(The loosely shaped silk threads before dyeing.)
Now I was awaiting for a long introduction of how to do things, as that’s whats Japanese usually tend to do. Over-explain until you lose interest in the task itself. Instead he was grabbing the brush, did some strokes with the dye on a sheet of newspaper and then handed me said brush and said “Now try it!”.
Me… already? Um okay! I did some tries and then he removed the newspaper and told me to dye properly on the silk screen. And I did. So much fun!
The steps of “hogushi nassen” dyeing:
Step 1:
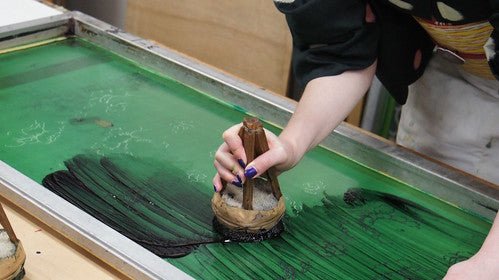
Dyeing thin outlines with the brush (“hake” 刷毛) in rhythmical strokes to the side.
Step 2:
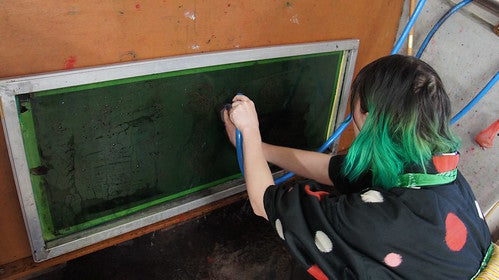
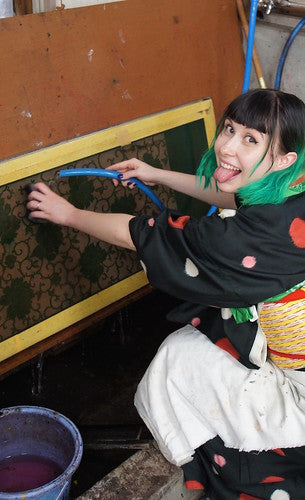
Wash the screen gently.
(Well in the normal production they would use the screen over and over throughout the day to dye many many meters of silk, however since I am only dyeing a small piece I had to wash the screen properly after use.)
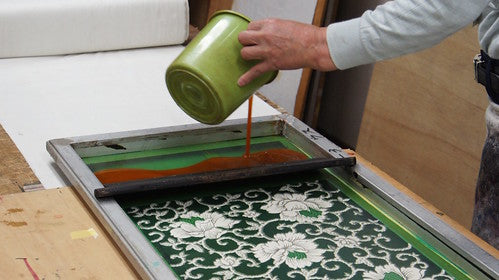
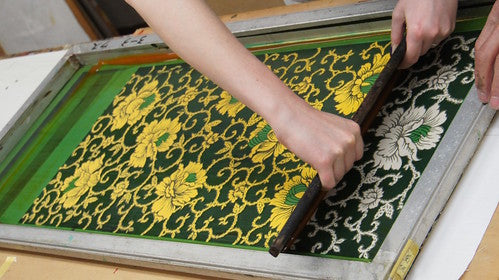
Step 3:
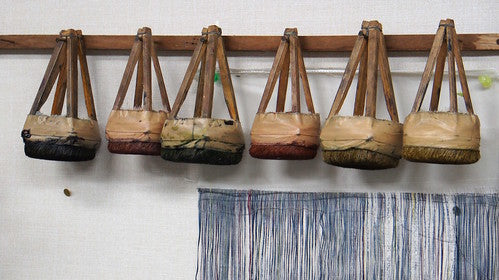
Now we moved away from the brush to fill in the main colour of the fabric bolt. To do so we used a big wooden spatula and dragged the colour smoothly over a different screen in both directions.
In case you wondered: The design will be aligned by placing the screen aligned with small marks printed on the fabric.

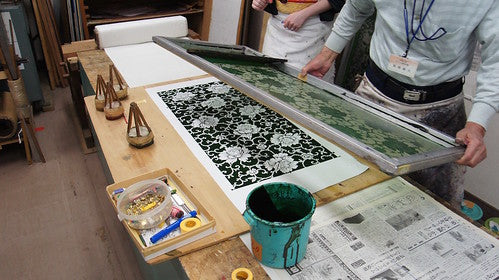
Step 4:
Wash the screen as well.
Step 5:
Add the last screen and dye the final parts.
Step 6:
Wash wash wash the screen.
Step 7:
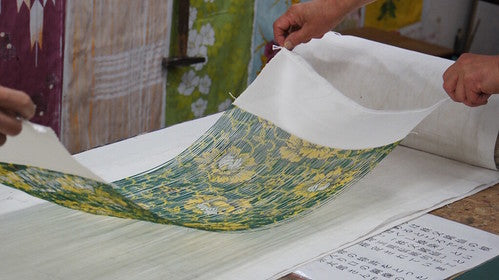
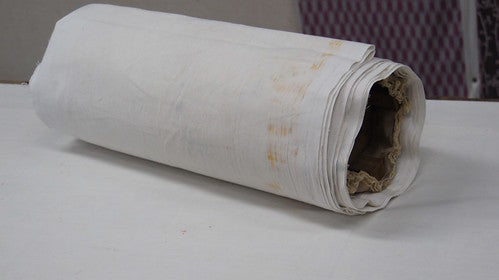
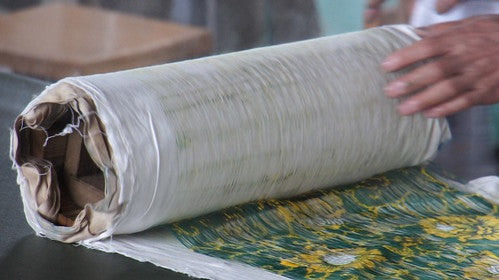
Carefully cover the dyed threads and roll into lanes of cotton fabric.
Step 8:
Steam the rolled fabric in an oven. This will set the dye in the threads.
Usually you would steam 13 meter of silk at once (length of one fabric bolt) for 2 hours, for this small piece 15-20 min were enough though.
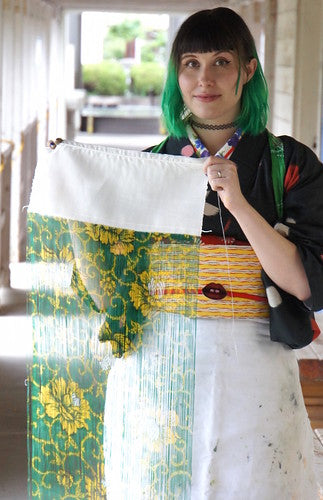
Step 9:
Wait.
Step 10:
Ask some questions about Meisen so you can write about it.
(just kidding..)
Step 11:
Unroll and done!
In case of kimono manufacturing they would probably treat the threads a bit more and hang them to dry before they would go to get woven in a weaving chair, however our journey ended here.
It was great fun and sensei was very lovely and encouraging which made this experience worthwhile.
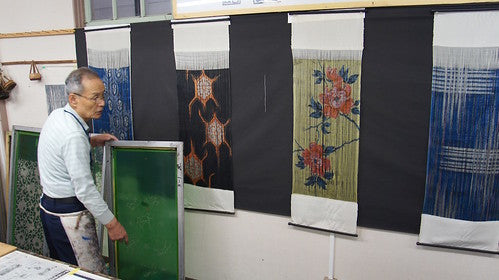
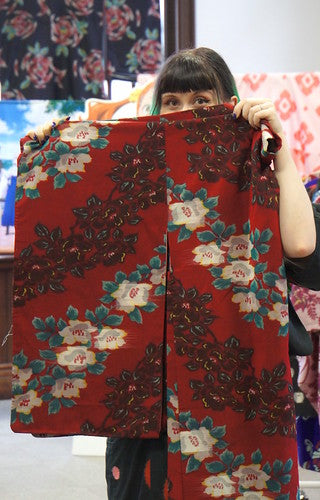
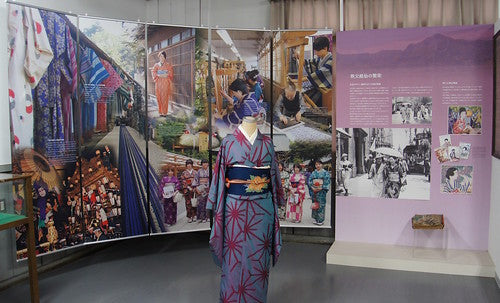
Afterwards we took time to see the actual Meisen museum and its steps and information of the fabrication of kimono.
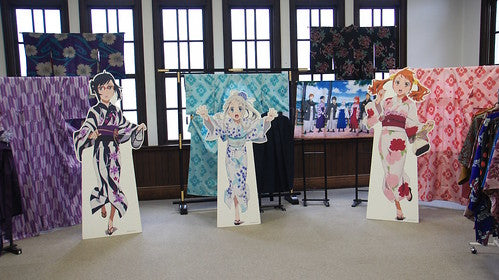
I love Meisen so much! In one room you could play dress-up with Meisen kimono.
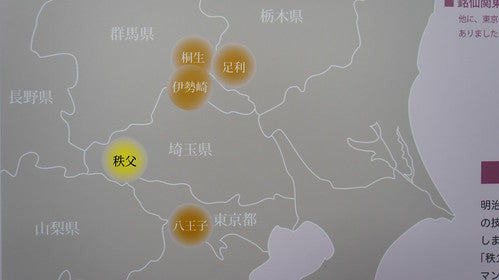
The areas which fabricated Meisen kimono. Chichibu was the main location!
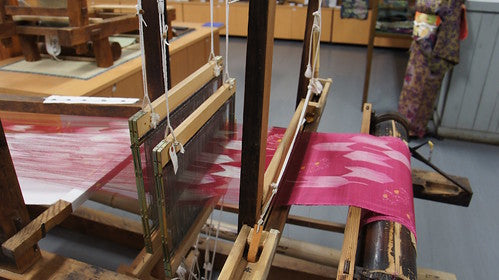
Meisen being woven.
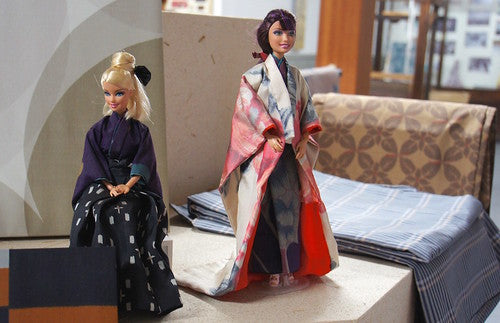
Meisen kimono Barbie!
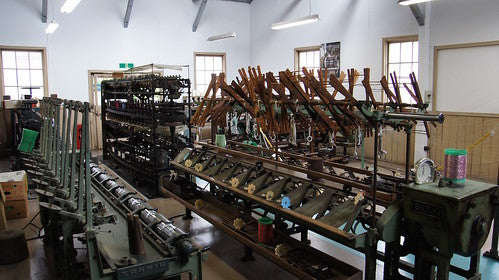
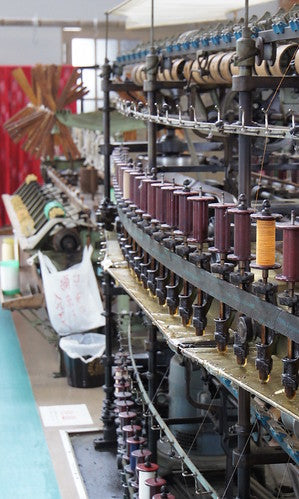
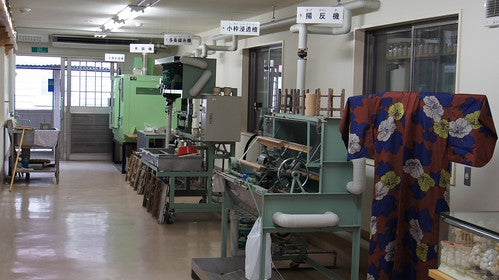
Old machinery to treat and roll the silk threads.
Knife cut stencils for kimono designs.
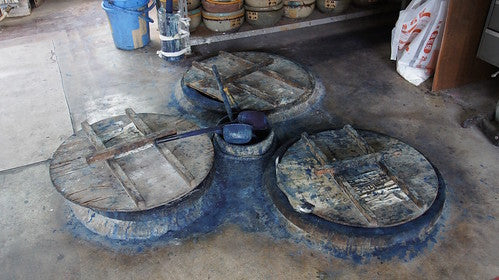
Indigo dyeing spot (you can also book a trial to do this!)
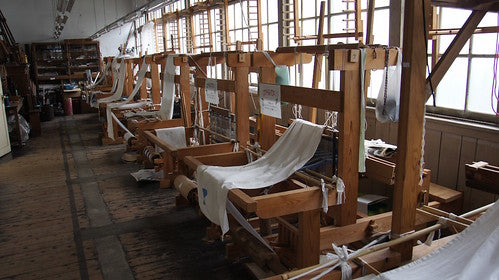
Weave chairs. Schools come here to learn this and you can also book a trial when you visit the Museum.
I am not including everything in here as it would get too lengthy but if you like Meisen kimono itself and/or would like to learn about traditional Japanese craftsmanship I’d like to encourage you to visit this museum one day.
Next up in this series I will take you behind the scenes of one (of a very few), still active company in Chichibu, traditionally weaving the Meisen threads into fabric bolts.
Thanks for reading!
Anji
Chichibu Meisenkan (秩父銘仙館)
Address: 28-1 Kumagimachi, Chichibu, Saitama Prefecture
Opening hours: 9:00 to 16:00 pm
No holidays except new years
Admission fee: 200 JPY
Trial:
If you would like to try out dyeing, stencil cutting, weaving or such you might need to reserve in advance. Also extra fees apply.
Access:
Approx. 5 minute walk from Seibu Chichibu Station.
